Goal
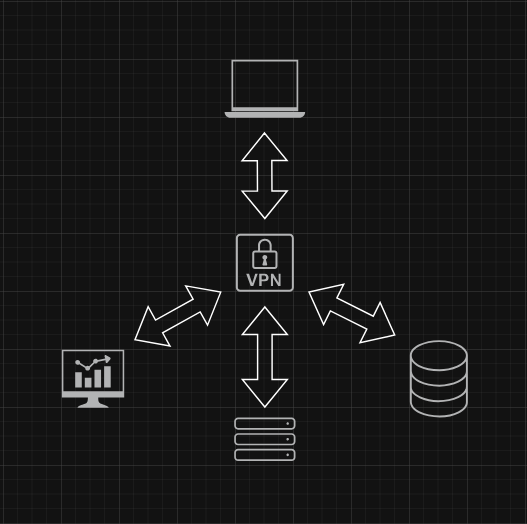
The goal was simple: one controlled entry point into the lab instead of a collection of forwarded management ports.
Implementation
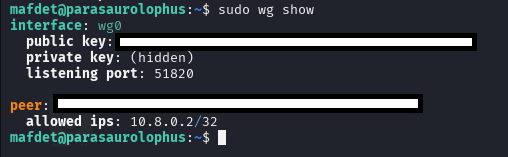
I installed WireGuard on a Raspberry Pi that was already acting as a central lab node. I created the server and client keys, assigned a private VPN subnet, and configured forwarding and NAT so authenticated peers could reach the internal network.

Testing
I tested from a separate Internet connection to make sure the client could establish the tunnel and then reach the internal hosts I actually needed.
What I learned
The project gave me a better practical understanding of routing, NAT, key-based VPN configuration, and the difference between making a service reachable and exposing it directly. It also made the rest of the homelab easier to use remotely without opening more public-facing ports.